Learning Objective:
Students will understand the concept of mosaic art and learn to create drawings using small, repeated geometric shapes or fragments.

Learning Outcome:
- Students will be able to define mosaic art.
- They will design and complete a simple mosaic artwork using paper or drawing tools.
Key Words / Vocabulary:
Mosaic, tessellation, geometric shapes, fragments, grout, patterns, symmetry.
Cross-Curricular Link:
- Math: Geometry and patterns.
- History/Art History: Learning about the history and cultural significance of mosaic art.

Starter (Picture Prompt):
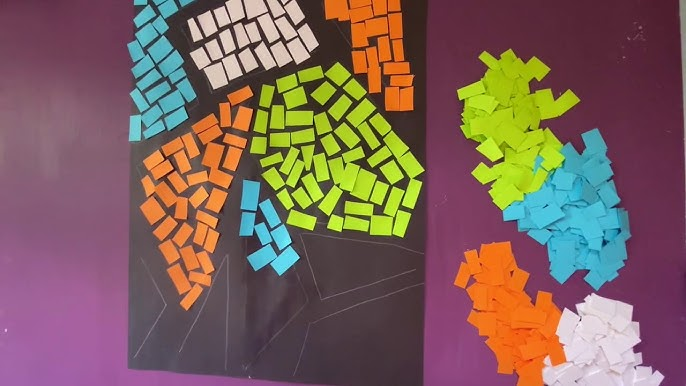
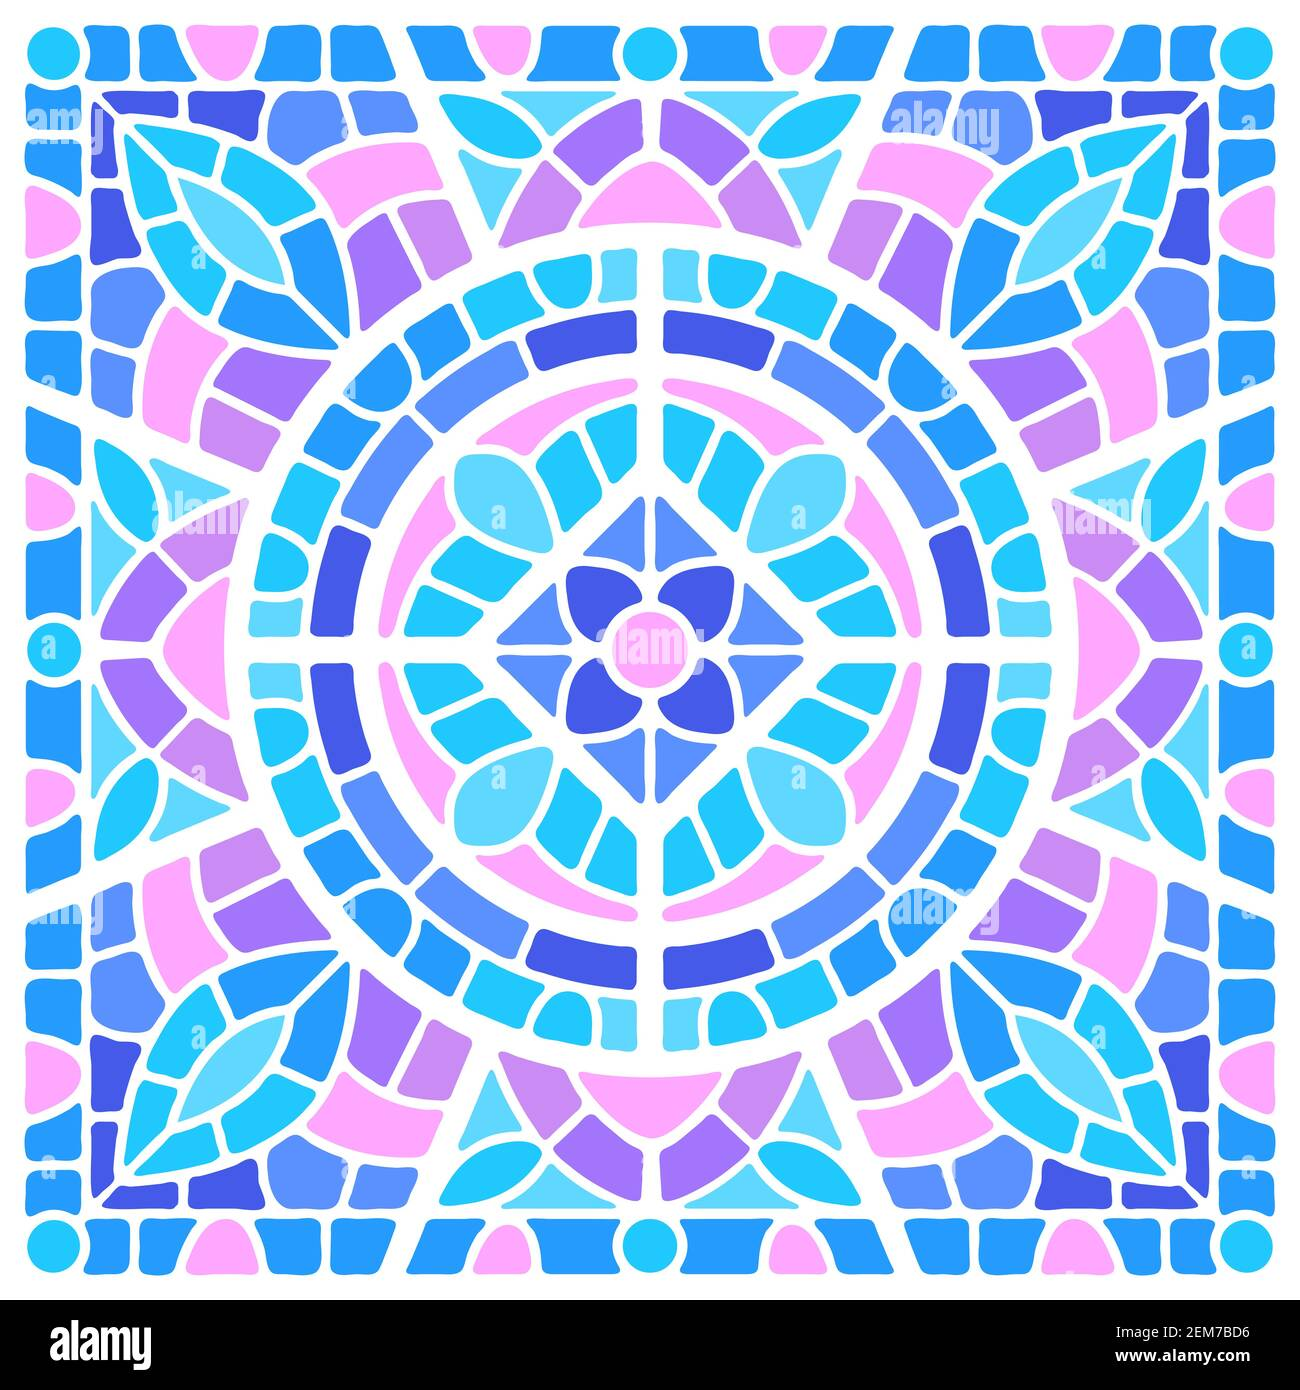
Show pictures of famous mosaics, such as:
The Roman mosaics (e.g., Alexander Mosaic).- Modern mosaic street art or tile work.
Ask students to observe and describe what they see (patterns, shapes, colors).
Teaching & Learning Activities:
- Introduction (5 minutes): Explain what mosaic art is and its historical importance.
- Demonstration (10 minutes):
- Show a simple step-by-step process to draw a mosaic pattern.
- Draw an outline of a basic shape (e.g., a flower or a sun) and fill it with small geometric shapes (triangles, squares, etc.).
- Discuss how to choose color schemes.
- Activity (25 minutes):
- Students create their own mosaic drawings, using small geometric shapes to fill a larger image of their choice (a fish, heart, or landscape).
- Use colored pencils, markers, or paper tiles to fill the mosaic.
Teacher Action:
- Guide students through the design process, offering tips on balancing colors and shapes.
- Provide individualized support to ensure students stay on track.
Learner Opportunities:
- Experiment with different shapes and color schemes.
- Develop patience and precision in arranging or drawing small shapes.
Challenging Tasks:
- Advanced students can create more detailed mosaics or use irregular shapes to mimic real tiles.
- Encourage them to design patterns inspired by cultural mosaics (e.g., Islamic or Greek designs).
Assessment Criteria:
- Self: Students reflect on their mosaic’s color balance and shape arrangement.
- Peer: Exchange work with a partner to get feedback.
- Teacher: Assess based on creativity, effort, and understanding of the mosaic technique.
Plenary (5 minutes):
- Display student work for a quick gallery walk.
- Discuss what they learned and how mosaics relate to art and math.
Home Learning:
- Research a famous mosaic and write a short paragraph about its history.
- Design a mosaic pattern for a different theme (e.g., animals or nature).
Resources Used:
- Colored pencils, markers, or small colored paper tiles
- Glue (if using paper tiles)
- Pre-drawn shapes for beginners
Skills Used In The Lesson:
- Fine motor skills
- Creativity and artistic expression
- Geometry and spatial awareness
Next Step of Learning:
- Explore mosaics using physical materials like tiles or glass for a 3D art experience.
- Introduce digital mosaic art using design software.
Rubric for Mosaic Art Drawing (Grades 3 to 5)
| Criteria | Excellent (4) | Good (3) | Satisfactory (2) | Needs Improvement (1) |
|---|---|---|---|---|
| Design and Creativity | Highly creative design with thoughtful patterns or imagery, demonstrating originality and artistic flair. | Creative design with well-thought-out patterns or imagery, showing some originality. | Basic design with limited creativity or simple repetitive patterns. | Little or no creativity; design lacks coherence or planning. |
| Use of Shapes and Patterns | Shapes and patterns are well-organized and consistent, creating a balanced, visually appealing design. | Good use of shapes and patterns; some minor inconsistencies in size or arrangement. | Shapes and patterns are present but uneven or poorly arranged, reducing visual balance. | Shapes and patterns are poorly defined or inconsistent, with little sense of balance or order. |
| Color Choice and Application | Excellent use of colors with thoughtful combinations that enhance the artwork. | Good color combinations, contributing to an appealing design with minor inconsistencies. | Basic use of color with some mismatched combinations or limited variation. | Minimal or ineffective use of color; combinations may clash or reduce the overall appeal. |
| Neatness and Precision | Pieces are neatly placed, with minimal gaps and consistent alignment, showing precision and care. | Most pieces are neatly aligned, with minor gaps or uneven edges. | Pieces are somewhat aligned but show gaps or uneven spacing. | Pieces are poorly aligned, with large gaps, uneven spacing, or careless placement. |
| Effort and Completion | Demonstrates exceptional effort; the project is complete, detailed, and thoughtfully executed. | Good effort is evident; the project is mostly complete with minor areas lacking detail. | Moderate effort; the project is complete but may appear rushed or lack attention to fine details. | Minimal effort; the project is incomplete, untidy, or shows little attention to detail. |
| Overall Composition | The final piece is harmonious, well-balanced, and visually engaging. | Composition is good with some balance and visual interest. | The composition is basic with limited balance or interest. | The composition lacks balance, structure, or visual coherence. |
Instructions for Use:
- Assign scores from 1 to 4 for each criterion.
- Calculate the total score to determine overall performance.
- Provide personalized feedback, noting strengths and suggestions for improvement.
Instructions:
- Look at the shapes and patterns around you. Think of a simple picture or object you would like to create using small geometric shapes (like squares, triangles, or circles).
- Follow the steps below to complete your mosaic drawing. Use colored pencils, markers, or crayons to add color.
Step 1: Planning Your Design
- Draw a simple outline of an object or scene inside the frame below (examples: sun, fish, house, tree).
- Keep the design simple to make it easier to fill with small shapes.
Step 2: Choosing Shapes and Patterns
- Think about the shapes you will use:
- Geometric shapes: Squares, triangles, circles.
- Repeating patterns: Alternate shapes to create texture.
- Fill the design below using small, repeating shapes.
Step 3: Adding Color
- Choose two to four colors that complement each other.
- Color in the shapes. Alternate colors to create a balanced design.
- Try to keep gaps small and neat.
Activity Frame for Drawing:
(Draw your mosaic design in this frame)
Reflection Questions:
- What shapes did you use most often in your mosaic?
- Which colors did you choose, and why?
- What was the most challenging part of creating your mosaic?
Bonus Challenge:
Try designing another mosaic at home based on a different theme (for example, animals or nature).
Materials Needed:
- Pencils
- Colored pencils, markers, or crayons
- Ruler (optional for neat geometric shapes)
Fun Fact:
Did you know that mosaics have been used in art for thousands of years? Ancient Romans and Greeks used tiny tiles made of stone and glass to create beautiful floors and walls!
No comments:
Post a Comment