Monday, 27 January 2025

Composition Drawing

 Daily Lesson Plan

Class: 3–5

Topic: Composition Drawing


Learning Objective:Composition Drawing

  • To develop an understanding of composition by arranging elements thoughtfully within a drawing.

  • To use space, balance, and placement creatively to create visually appealing artwork.


Learning Outcome:

  • Students will be able to create a composition drawing by arranging objects effectively within the space provided.
  • They will demonstrate creativity, balance, and proportion in their artwork.

Key Words/Vocabulary:

  • Composition
  • Balance
  • Proportion
  • Foreground
  • Background
  • Overlapping
  • Perspective


Cross-Curricular Link:

  • Math: Understanding proportion and space.


  • English: Describing their artwork and the objects they chose to draw.


  • Science: Incorporating elements of nature (e.g., trees, flowers, animals).


Starter (Picture Prompt):

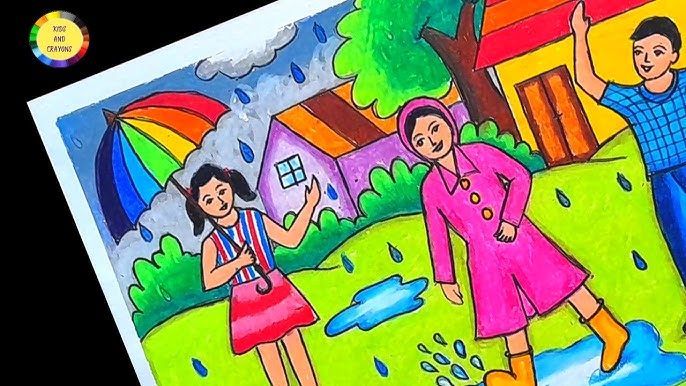
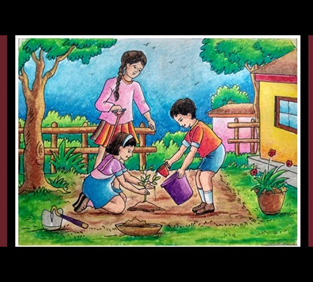
  • Show a picture of a simple composition (e.g., a bowl of fruits, a garden, or a table setup).


Discuss the arrangement and ask students:
    • What do you notice about the objects?
    • How do they fit together?
    • What do you think makes the picture look complete?

Teaching & Learning Activities

Teacher Action:

  1. Explain the concept of composition using simple examples (e.g., arranging objects in a room, arranging fruits in a basket).
  2. Demonstrate how to sketch a basic composition (e.g., a table with a vase, a tree with flowers).
  3. Encourage discussion about the importance of balance, perspective, and proportion in art.

Learner Opportunities:

  1. Observe the demonstration carefully.
  2. Practice creating a quick thumbnail sketch to plan their composition.
  3. Select a theme (e.g., garden, picnic, or room interior) and create their own composition drawing.

Challenging Tasks:

  • Add depth by including overlapping objects.
  • Include details in the background to enhance perspective.
  • Use shading techniques to add dimension to their composition.

Step by step animal drawing:- 


Assessment Criteria (Self/Peer/Teacher):

  • Self: Reflect on whether their drawing looks balanced and complete.
  • Peer: Review a classmate’s drawing and provide constructive feedback on composition.
  • Teacher: Assess the use of space, balance, and creativity in each student’s drawing.

Plenary:

  • Display a few student artworks and discuss as a class:
    • What works well in this composition?
    • How could it be improved?
  • Summarize the key points of composition drawing and its importance in art.

Home Learning:

  • Create a composition drawing at home based on a theme of their choice (e.g., their favorite corner of the house or a park scene).
  • Write a short paragraph describing the objects and why they chose to include them.

Resources Used:

  • Reference images (picture prompts).
  • Sketchbooks or drawing paper.
  • Pencils, erasers, colored pencils, and markers.

Skills Used in the Lesson:

  • Observation
  • Creativity
  • Spatial awareness
  • Planning and problem-solving

Next Step of Learning:

  • Explore advanced composition techniques like perspective drawing.
  • Learn to include human figures or animals in compositions.
  • Use different mediums (e.g., watercolors, charcoal) for their compositions.
Rubric for Composition Drawing

Criteria

Excellent (4)

Good (3)

Satisfactory (2)

Needs Improvement (1)

Creativity & Theme

Unique and imaginative composition with a clear theme.

Clear theme with some creative elements.

Theme is basic with limited creative effort.

Theme is unclear or lacks creativity.

Use of Space

Excellent use of space; balanced arrangement of elements.

Good use of space; most elements are well arranged.

Space is unevenly used; some areas feel empty or crowded.

Poor use of space; elements are disorganized.

Details & Elements

Detailed drawing with thoughtful additions (people, animals, objects).

Includes a variety of relevant details but lacks refinement.

Few details; minimal effort in adding extra elements.

Limited or no effort in adding details.

Proportion & Balance

Accurate proportion; well-balanced composition.

Proportions are mostly correct; composition is fairly balanced.

Proportions are somewhat off; composition is imbalanced.

Proportions are incorrect; lacks balance.

Effort & Neatness

Exceptional effort; drawing is neat and complete.

Good effort; mostly neat with minor imperfections.

Some effort; drawing lacks neatness in places.

Minimal effort; drawing is incomplete or untidy.

Use of Color/Shading

Effective use of color or shading to enhance the scene.

Good use of color or shading; adds some depth.

Limited use of color or shading; minimal enhancement.

No use of color or shading; scene looks flat.

Overall Composition

Engaging and visually appealing composition.

Composition is visually appealing but less engaging.

Composition is basic and lacks visual appeal.

Composition is incomplete or not engaging.


Scoring Guide:

  • 28–24: Outstanding! Your composition shows excellent creativity and technique.
  • 23–18: Good! You have a clear understanding but can refine some aspects.
  • 17–12: Satisfactory! More practice can help improve your skills.
  • 11 or below: Needs improvement. Focus on balance, details, and neatness.
  •  

·  Composition: The arrangement of elements (objects, people, or scenery) in a drawing to create a complete and visually appealing picture.

·  Balance: Ensuring that elements in the drawing are evenly distributed, so no part feels too empty or too crowded.

·  Proportion: The size relationship between objects to ensure they look realistic (e.g., a tree should not be smaller than a person).

·  Foreground: The part of the drawing that appears closest to the viewer, usually with larger and more detailed objects.

·  Background: The part of the drawing that appears farthest from the viewer, often less detailed or lighter in color to show distance.

·  Overlapping: Placing one object in front of another to create depth and show which objects are closer or farther away.

·  Perspective: The technique used to create the illusion of depth and distance, making a flat drawing appear three-dimensional.



Friday, 24 January 2025

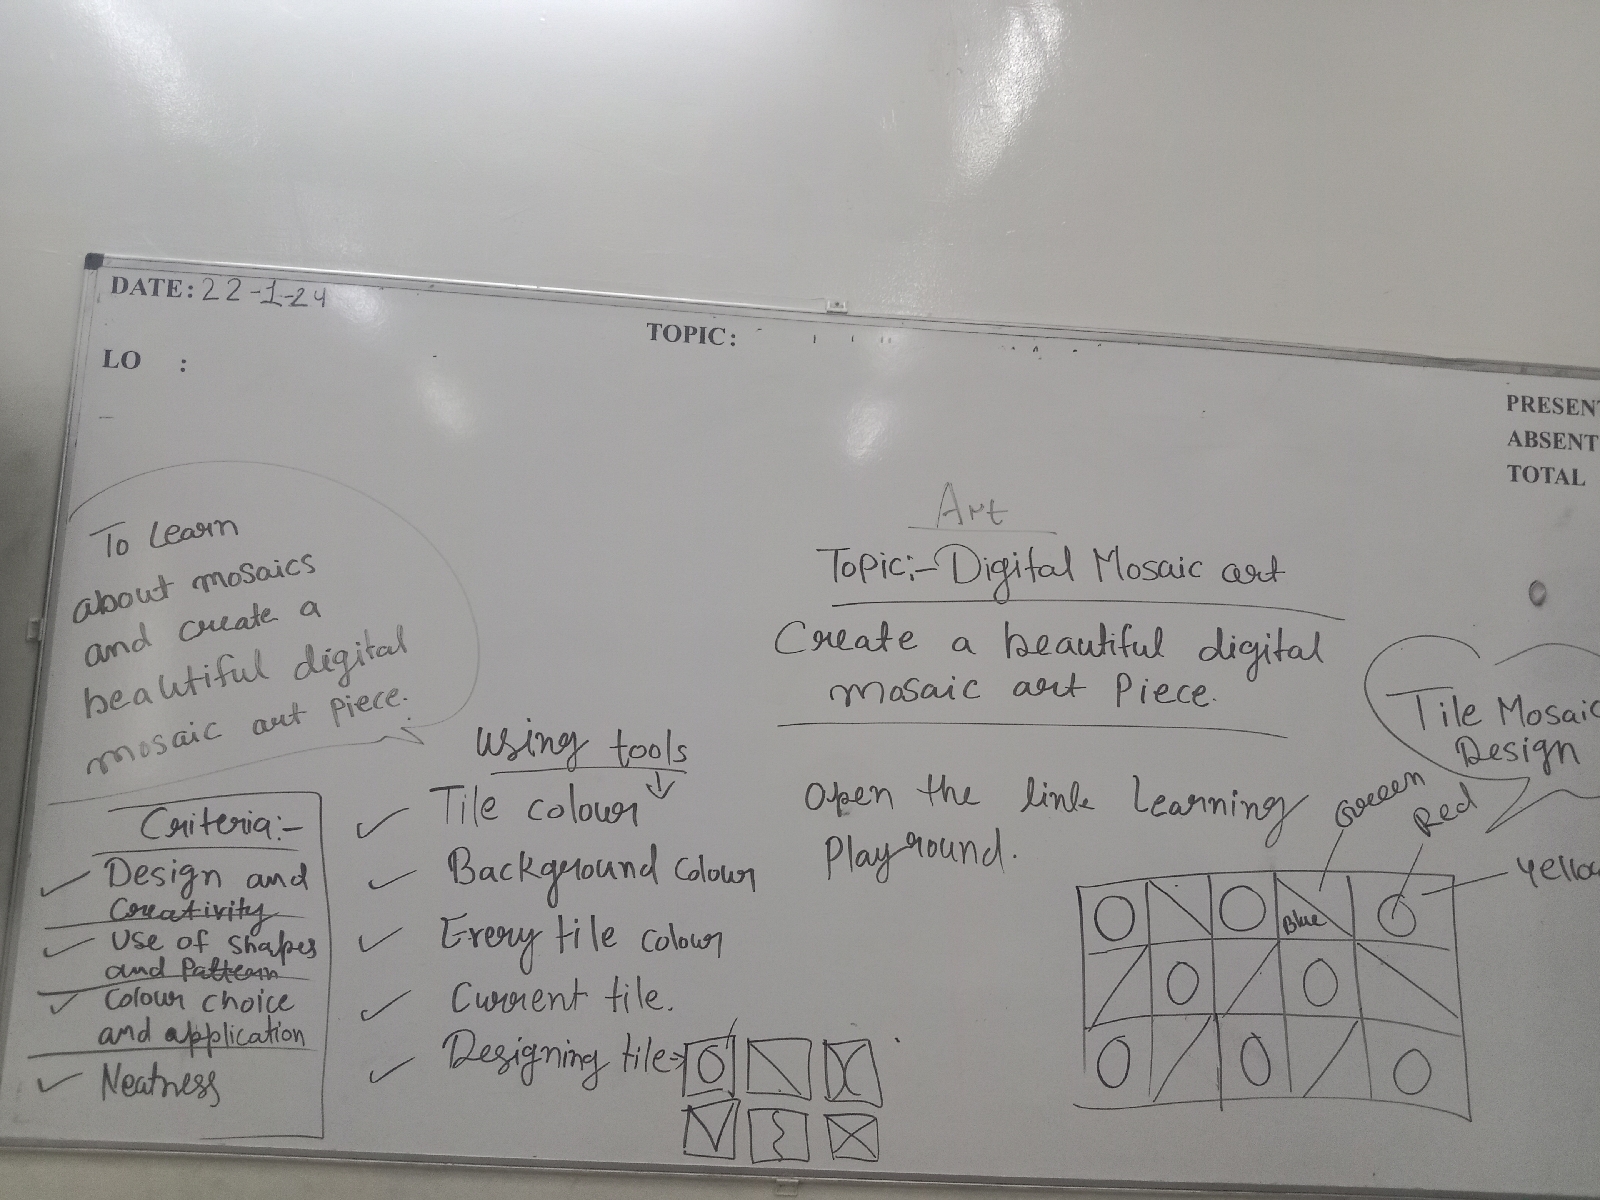
Digital Mosaic Art (Grade 3-5)


Lesson Title: "Pixelated Masterpieces: Exploring Digital Mosaic Art"
Grade Level: 3-5
Objectives:
1. Students will understand the concept of mosaic art and its digital application.
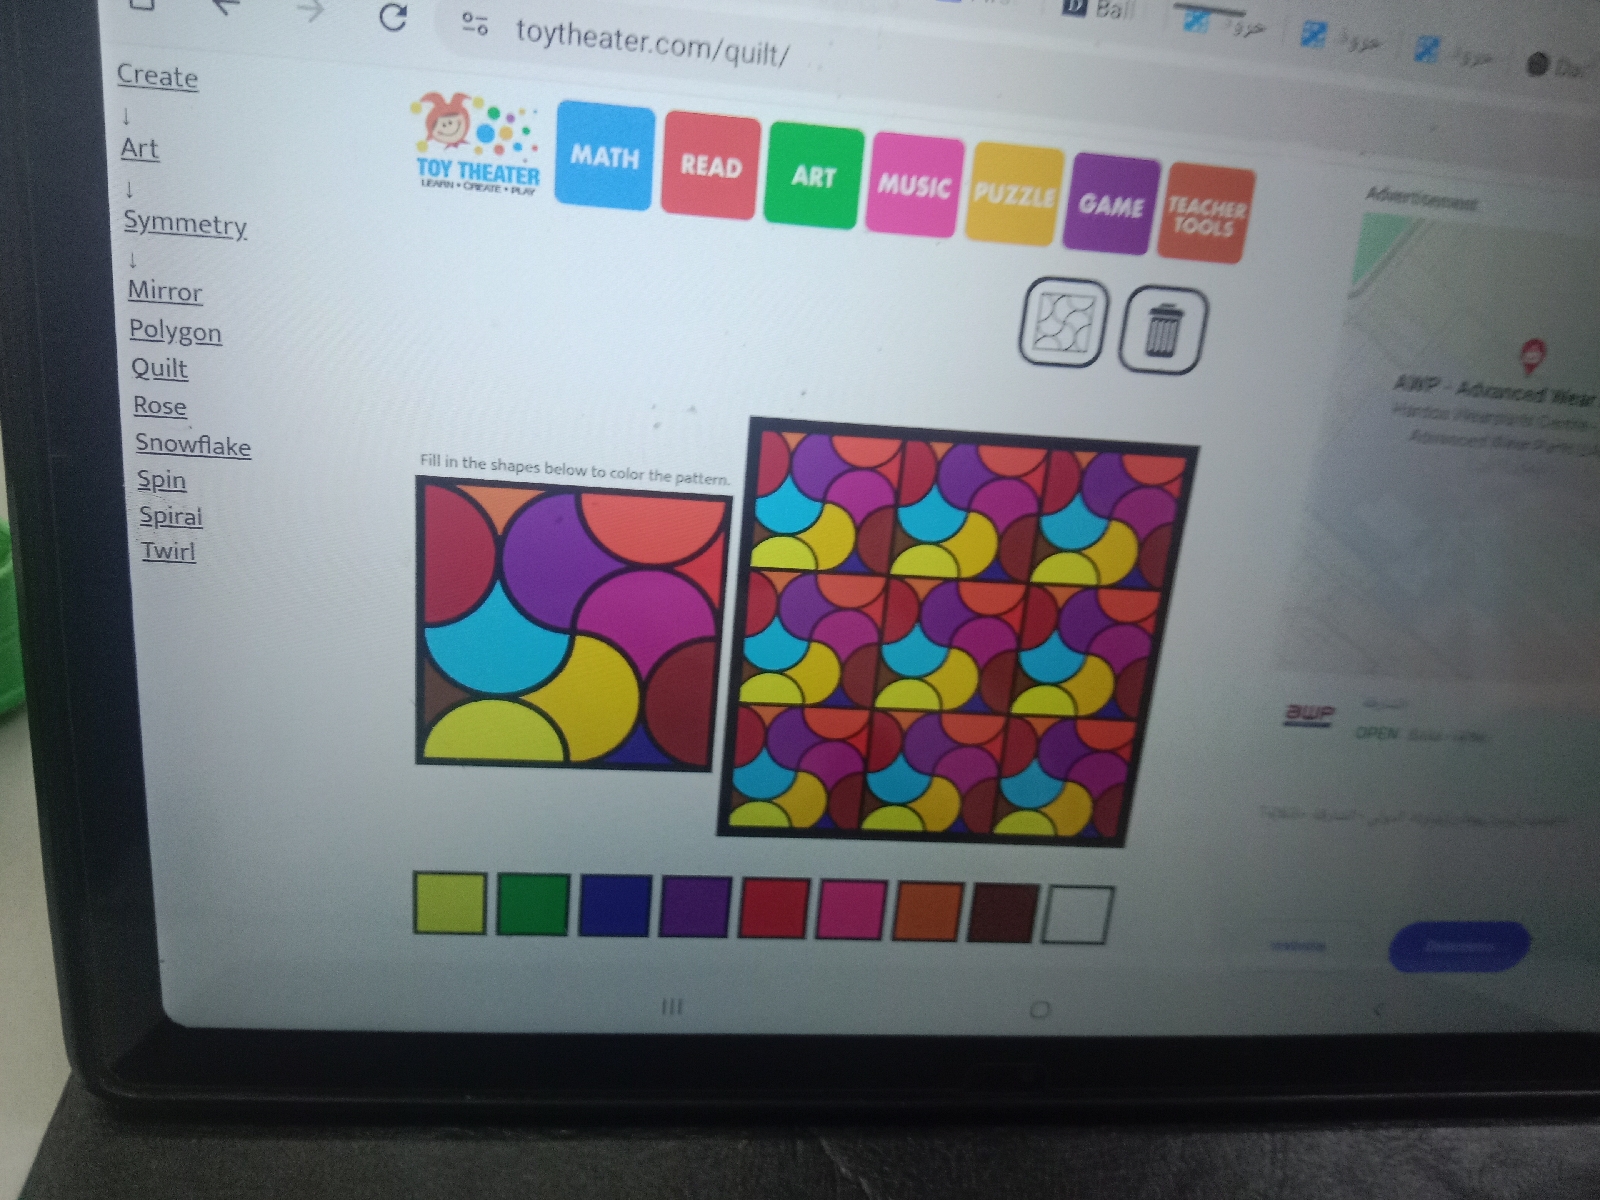
2. Students will learn to create a digital mosaic artwork using a software or app.
3. Students will develop their critical thinking and problem-solving skills through the creative process.


Materials:
- Computers or tablets with internet access
- Digital mosaic art software or app (e.g., Pixilart, Mosaic Maker, or Adobe Photoshop)
- Example images of mosaic art
- White paper and pencils (optional)

Procedure:
*Introduction (10 minutes)*
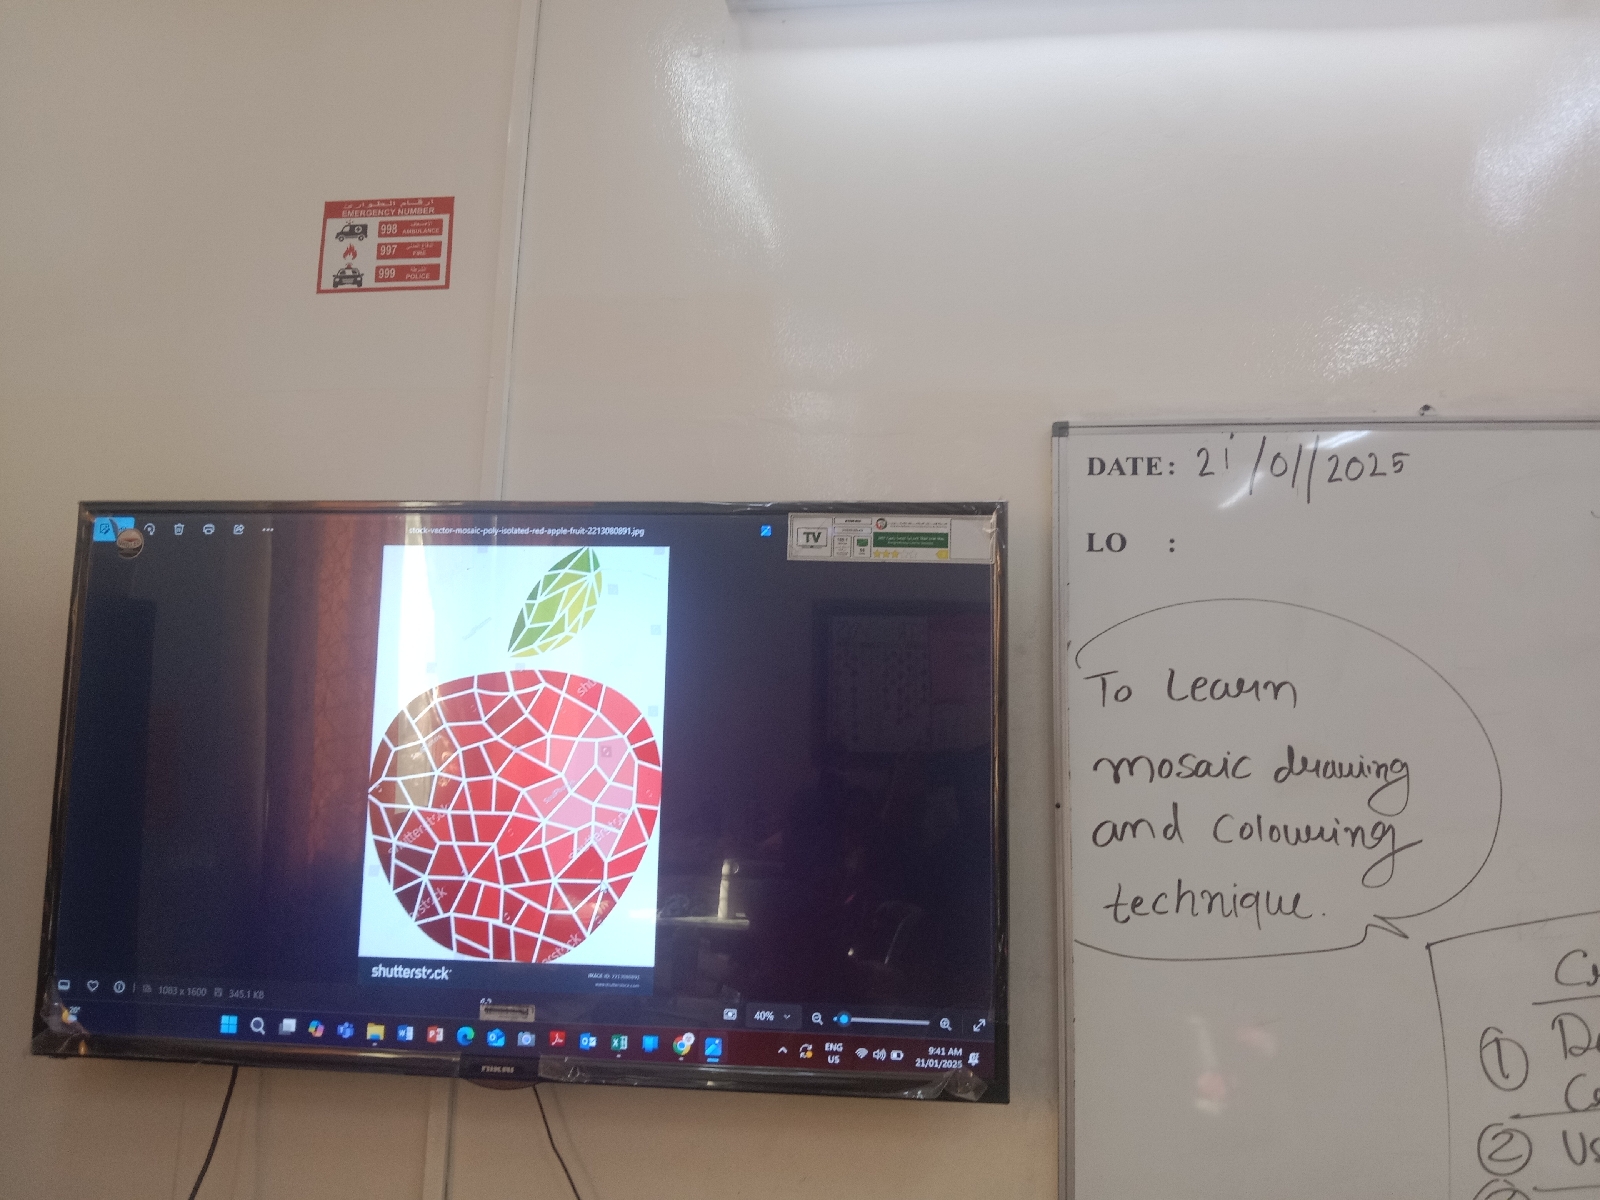
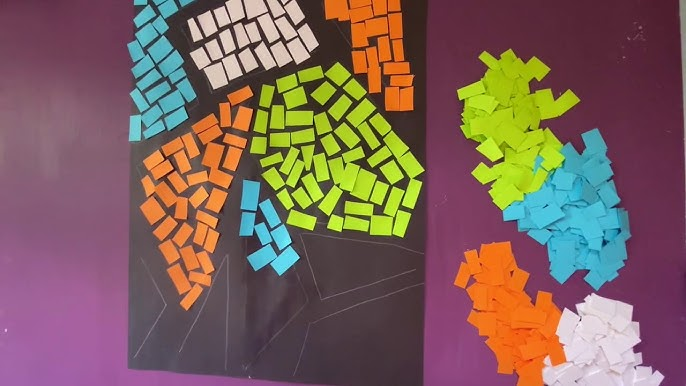
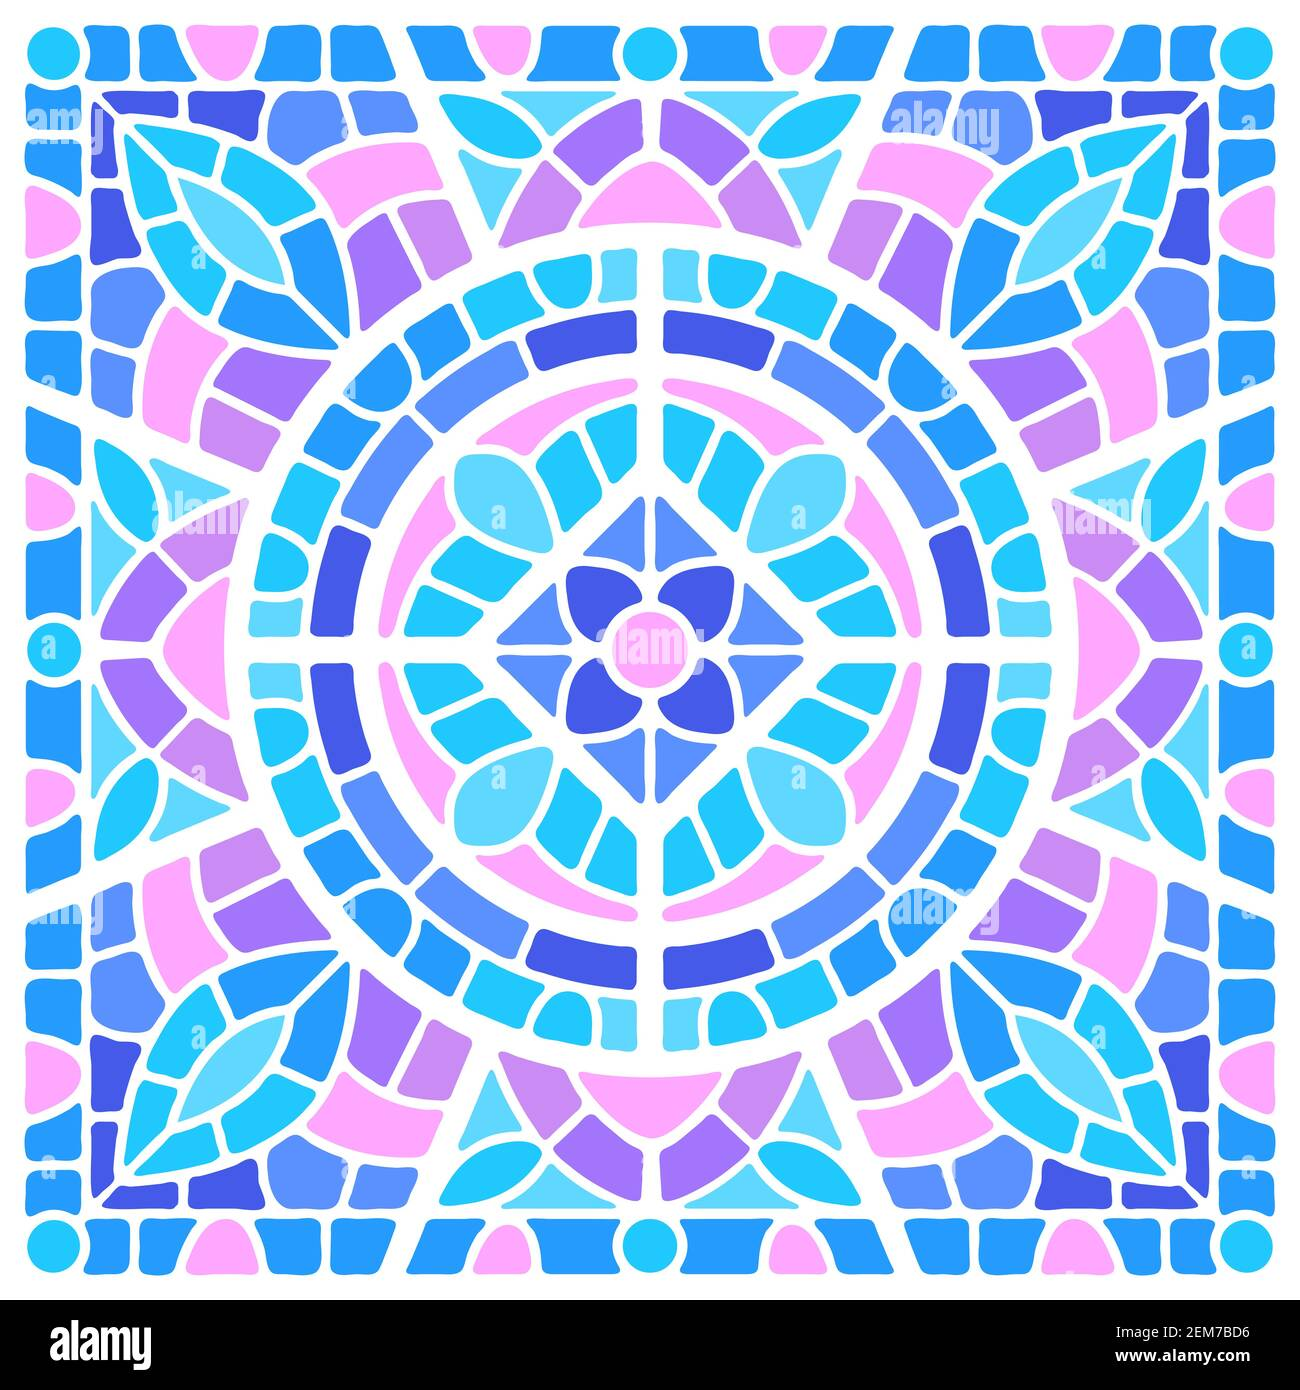
1. Introduce the concept of mosaic art, explaining that it involves creating images using small pieces of material, such as tiles or glass.
2. Show examples of traditional mosaic art and explain how it can be recreated digitally.
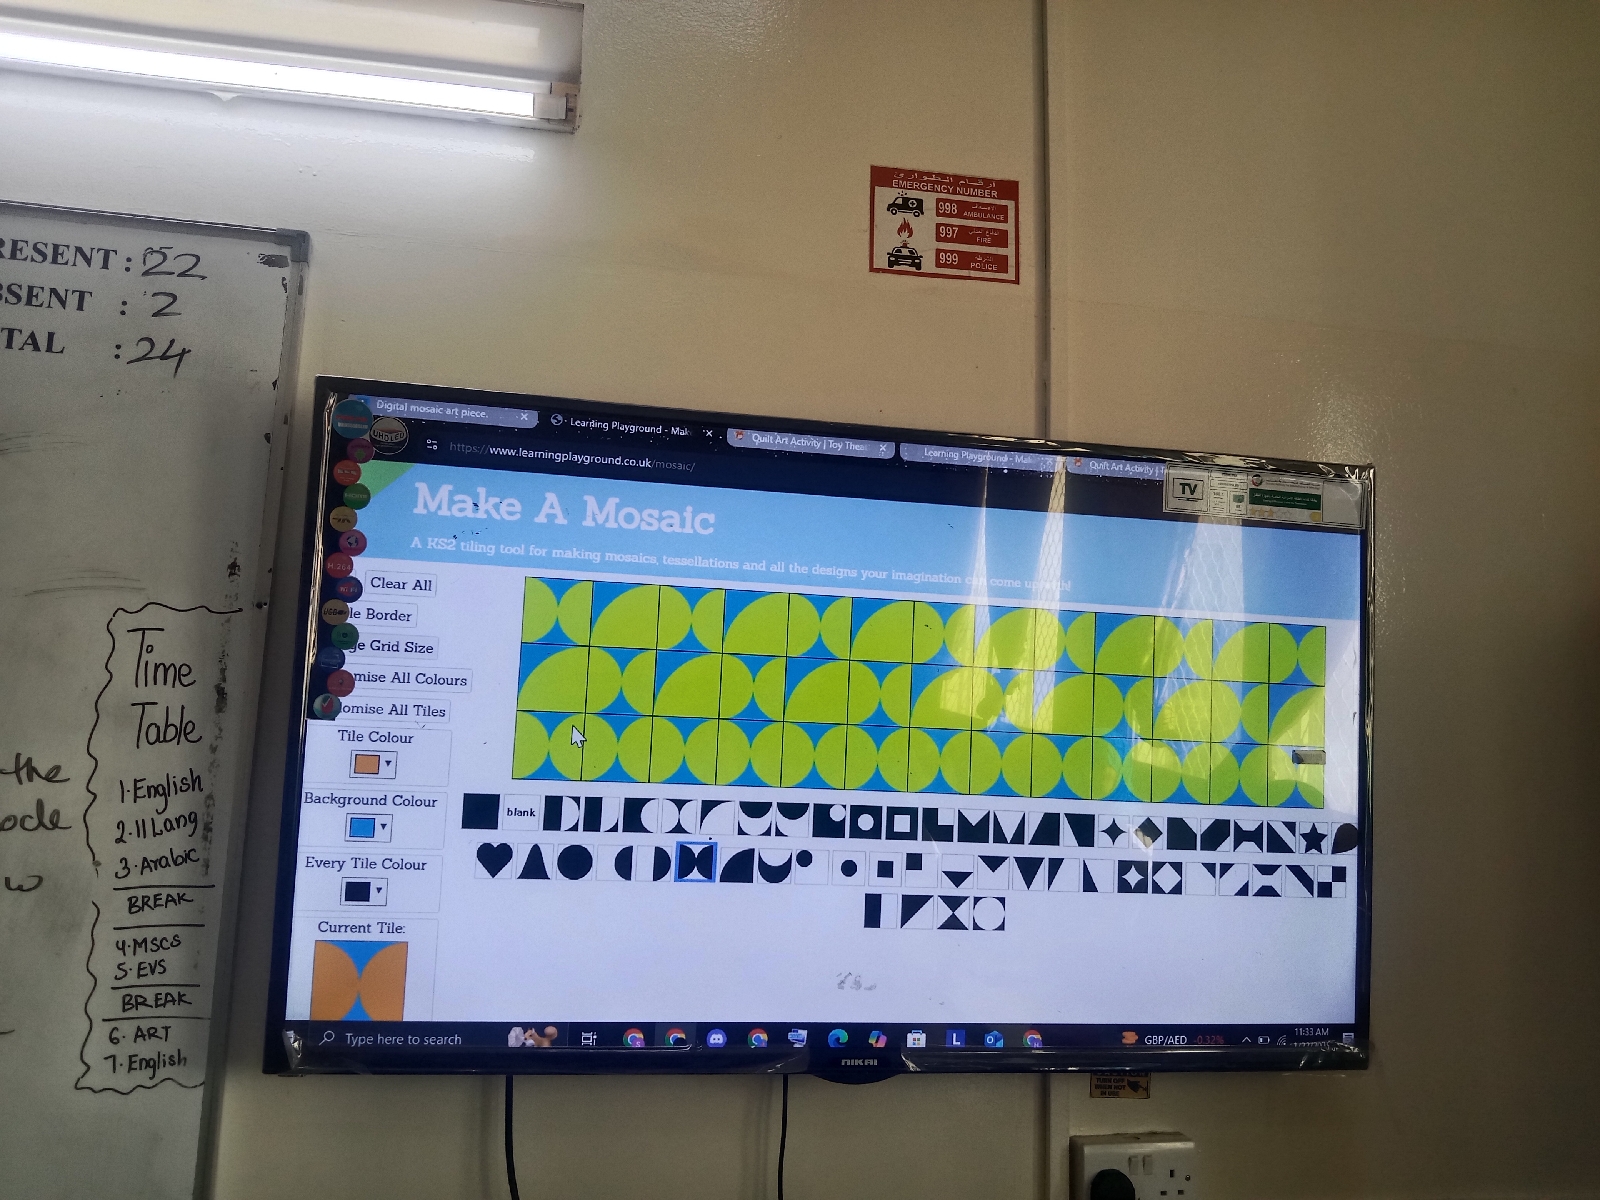
3. Demonstrate the digital mosaic art software or app, highlighting its features and tools.
*Activity (30 minutes)*
1. Have students create their own digital mosaic artwork using the software or app.
2. Encourage them to experiment with different colors, shapes, and patterns.
3. As students work, circulate and provide guidance, asking open-ended questions to prompt critical thinking and creativity.

*Conclusion (15 minutes)*
1. Have students share their finished artworks with the class.
2. Ask students to reflect on their creative process, discussing challenges they faced and how they overcame them.
3. As a class, discuss the similarities and differences between traditional and digital mosaic art.
Assessment:
- Observe students' ability to create a digital mosaic artwork using the software or app.
- Evaluate their critical thinking and problem-solving skills through their reflections and class discussions.
- Review their finished artworks for creativity, color choice, and overall composition.

Extension:
- Have students create a series of digital mosaic artworks, exploring different themes or subjects.
- Encourage students to create a physical mosaic artwork using traditional materials, such as tiles or glass.
- Invite a guest artist to speak to the class about their experiences with digital mosaic art.
Interactive Fun Activities:
- "Mosaic Madness": Divide the class into small groups and have them work together to create a large-scale digital mosaic artwork.
- "Pixel Puzzle": Create a digital mosaic artwork and then scramble the pixels. Have students reassemble the artwork, using problem-solving skills and critical thinking.
  

Digital Mosaic Art Rubric

Criteria4 - Excellent3 - Proficient2 - Developing1 - Needs Improvement
CreativityDemonstrates exceptional originality and artistic vision; design is unique and engaging.Shows originality and thoughtfulness in the design; mostly creative and engaging.Some originality, but design may rely on common ideas or lack depth.Minimal effort in design; lacks creativity or originality.
CompositionElements are well-organized, balanced, and visually appealing; excellent attention to detail.Good organization with minor issues in balance or detail.Composition is somewhat cluttered or incomplete, affecting visual appeal.Poor organization; elements are misplaced or lack visual coherence.
Use of Mosaic TechniqueDemonstrates an outstanding understanding of the mosaic technique; tiles are consistent, purposeful, and neatly placed.Good understanding of the technique; tiles are mostly consistent and intentional.Some understanding of the technique; tiles may be uneven or misplaced.Limited understanding of the technique; tiles appear rushed or randomly placed.
Effort and Time ManagementExceeded expectations; worked diligently and efficiently throughout the project.Completed work on time with adequate effort and focus.Effort is inconsistent; some time may have been wasted.Minimal effort; significant time was wasted, or the project is incomplete.
Color ChoicesColors are thoughtfully selected and enhance the overall design; shows excellent color harmony.Colors are appropriate and support the design with minor inconsistencies.Colors are somewhat effective but may lack harmony or thoughtfulness.Colors are poorly chosen or distract from the overall design.
Technical SkillDemonstrates excellent digital skills; uses tools effectively and precisely.Demonstrates good digital skills with minor mistakes or oversights.Demonstrates basic skills but with noticeable technical issues.Limited digital skills; frequent mistakes or lack of understanding of tools.

Scoring

  • 20-24 Points: Outstanding
  • 15-19 Points: Proficient
  • 10-14 Points: Needs Improvement
  • Below 10 Points: Redo or additional guidance needed

Monday, 20 January 2025

Art with fun

Art with Fun: Unleashing Creativity and Joy

Art is often perceived as a serious pursuit, requiring skill, technique, and dedication. However, what if we told you that art can also be a fun and enjoyable experience? Welcome to the world of "Art with Fun," where creativity meets playfulness, and self-expression knows no bounds.

The Power of Play
When we think of art, we often imagine a solemn artist, hunched over a canvas, meticulously crafting a masterpiece. But what about the joy of creation? The thrill of experimentation? The excitement of discovering new techniques and mediums? Art with Fun is all about embracing the playful side of creativity, letting go of inhibitions, and allowing ourselves to have fun.

Unleashing Creativity
Art with Fun is not just about creating art; it's about unlocking our inner creative potential. By embracing a playful approach to art, we can tap into our imagination, explore new ideas, and express ourselves in innovative ways. Whether it's painting, drawing, sculpting, or any other form of art, the goal is to enjoy the process, not just the end result.

Benefits of Art with Fun
1. *Stress Relief*: Engaging in playful art activities can help reduce stress and anxiety, promoting relaxation and calmness.
2. *Boosts Confidence*: Creating art in a fun and non-judgmental environment can help build confidence and self-esteem.
3. *Fosters Creativity*: Art with Fun encourages experimentation, exploration, and innovation, helping to develop our creative potential.
4. *Social Benefits*: Engaging in art activities with others can help build social connections, foster friendships, and create a sense of community.

Getting Started
So, how can you experience the joy of Art with Fun? Here are some tips to get you started:

1. *Experiment with new mediums*: Try painting, drawing, sculpting, or any other art form that sparks your interest.
2. *Play with colors*: Don't be afraid to get messy and try out new color combinations.
3. *Join a art class or workshop*: Meet new people and learn new techniques in a fun and supportive environment.
4. *Make art a game*: Set a timer, challenge yourself, or create art with a friend to make the experience more enjoyable.

Conclusion
Art with Fun is a journey, not a destination. It's about embracing the process, enjoying the ride, and creating art that brings us joy. So, let's pick up our brushes, pencils, and paints, and get ready to unleash our creativity and have some fun!

Saturday, 18 January 2025

Topic: Mosaic Art Drawing


Learning Objective:
Students will understand the concept of mosaic art and learn to create drawings using small, repeated geometric shapes or fragments.


Learning Outcome:

  • Students will be able to define mosaic art.
  • They will design and complete a simple mosaic artwork using paper or drawing tools.

Key Words / Vocabulary:
Mosaic, tessellation, geometric shapes, fragments, grout, patterns, symmetry.


Cross-Curricular Link:

  • Math: Geometry and patterns.
  • History/Art History: Learning about the history and cultural significance of mosaic art. 


Starter (Picture Prompt):
Show pictures of famous mosaics, such as:


  • The Roman mosaics (e.g., Alexander Mosaic).
  • Modern mosaic street art or tile work.
    Ask students to observe and describe what they see (patterns, shapes, colors).

Teaching & Learning Activities:

  1. Introduction (5 minutes): Explain what mosaic art is and its historical importance.
  2. Demonstration (10 minutes):
    • Show a simple step-by-step process to draw a mosaic pattern.
    • Draw an outline of a basic shape (e.g., a flower or a sun) and fill it with small geometric shapes (triangles, squares, etc.).
    • Discuss how to choose color schemes.


  1. Activity (25 minutes):
    • Students create their own mosaic drawings, using small geometric shapes to fill a larger image of their choice (a fish, heart, or landscape).
    • Use colored pencils, markers, or paper tiles to fill the mosaic.

Teacher Action:

  • Guide students through the design process, offering tips on balancing colors and shapes.
  • Provide individualized support to ensure students stay on track.

Learner Opportunities:

  • Experiment with different shapes and color schemes.
  • Develop patience and precision in arranging or drawing small shapes.

Challenging Tasks:

  • Advanced students can create more detailed mosaics or use irregular shapes to mimic real tiles.
  • Encourage them to design patterns inspired by cultural mosaics (e.g., Islamic or Greek designs).

Assessment Criteria:

  • Self: Students reflect on their mosaic’s color balance and shape arrangement.
  • Peer: Exchange work with a partner to get feedback.
  • Teacher: Assess based on creativity, effort, and understanding of the mosaic technique.

Plenary (5 minutes):

  • Display student work for a quick gallery walk.
  • Discuss what they learned and how mosaics relate to art and math.

Home Learning:

  • Research a famous mosaic and write a short paragraph about its history.
  • Design a mosaic pattern for a different theme (e.g., animals or nature).

Resources Used:

  • Colored pencils, markers, or small colored paper tiles
  • Glue (if using paper tiles)
  • Pre-drawn shapes for beginners

Skills Used In The Lesson:

  • Fine motor skills
  • Creativity and artistic expression
  • Geometry and spatial awareness

Next Step of Learning:

  • Explore mosaics using physical materials like tiles or glass for a 3D art experience.
  • Introduce digital mosaic art using design software.

Rubric for Mosaic Art Drawing (Grades 3 to 5)

CriteriaExcellent (4)Good (3)Satisfactory (2)Needs Improvement (1)
Design and CreativityHighly creative design with thoughtful patterns or imagery, demonstrating originality and artistic flair.Creative design with well-thought-out patterns or imagery, showing some originality.Basic design with limited creativity or simple repetitive patterns.Little or no creativity; design lacks coherence or planning.
Use of Shapes and PatternsShapes and patterns are well-organized and consistent, creating a balanced, visually appealing design.Good use of shapes and patterns; some minor inconsistencies in size or arrangement.Shapes and patterns are present but uneven or poorly arranged, reducing visual balance.Shapes and patterns are poorly defined or inconsistent, with little sense of balance or order.
Color Choice and ApplicationExcellent use of colors with thoughtful combinations that enhance the artwork.Good color combinations, contributing to an appealing design with minor inconsistencies.Basic use of color with some mismatched combinations or limited variation.Minimal or ineffective use of color; combinations may clash or reduce the overall appeal.
Neatness and PrecisionPieces are neatly placed, with minimal gaps and consistent alignment, showing precision and care.Most pieces are neatly aligned, with minor gaps or uneven edges.Pieces are somewhat aligned but show gaps or uneven spacing.Pieces are poorly aligned, with large gaps, uneven spacing, or careless placement.
Effort and CompletionDemonstrates exceptional effort; the project is complete, detailed, and thoughtfully executed.Good effort is evident; the project is mostly complete with minor areas lacking detail.Moderate effort; the project is complete but may appear rushed or lack attention to fine details.Minimal effort; the project is incomplete, untidy, or shows little attention to detail.
Overall CompositionThe final piece is harmonious, well-balanced, and visually engaging.Composition is good with some balance and visual interest.The composition is basic with limited balance or interest.The composition lacks balance, structure, or visual coherence.

Instructions for Use:

  • Assign scores from 1 to 4 for each criterion.
  • Calculate the total score to determine overall performance.
  • Provide personalized feedback, noting strengths and suggestions for improvement.
___________________________________________________________________________________

Instructions:

  1. Look at the shapes and patterns around you. Think of a simple picture or object you would like to create using small geometric shapes (like squares, triangles, or circles).
  2. Follow the steps below to complete your mosaic drawing. Use colored pencils, markers, or crayons to add color.

Step 1: Planning Your Design

  • Draw a simple outline of an object or scene inside the frame below (examples: sun, fish, house, tree).
  • Keep the design simple to make it easier to fill with small shapes.

Step 2: Choosing Shapes and Patterns

  • Think about the shapes you will use:
    • Geometric shapes: Squares, triangles, circles.
    • Repeating patterns: Alternate shapes to create texture.
  • Fill the design below using small, repeating shapes.

Step 3: Adding Color

  • Choose two to four colors that complement each other.
  • Color in the shapes. Alternate colors to create a balanced design.
  • Try to keep gaps small and neat.

Activity Frame for Drawing:
(Draw your mosaic design in this frame)


Reflection Questions:

  1. What shapes did you use most often in your mosaic?
  2. Which colors did you choose, and why?
  3. What was the most challenging part of creating your mosaic?

Bonus Challenge:
Try designing another mosaic at home based on a different theme (for example, animals or nature).


Materials Needed:

  • Pencils
  • Colored pencils, markers, or crayons
  • Ruler (optional for neat geometric shapes)

Fun Fact:
Did you know that mosaics have been used in art for thousands of years? Ancient Romans and Greeks used tiny tiles made of stone and glass to create beautiful floors and walls!

Lesson Plan: Pencil Sketching Study


Grade: 3 to 5

Duration: 45 minutes


Topic: Pencil Sketching Study

Learning Objective:
Students will develop foundational skills in pencil sketching, including shading, texture, and line work.


Learning Outcome:

  • Students will understand basic pencil sketching techniques.
  • They will demonstrate control over pencil pressure to create light and dark tones.
  • Students will use lines, shapes, and textures to represent real-world objects.


Key Words / Vocabulary:

Sketch, shading, tone, texture, lines, hatching, cross-hatching, blending, highlight, shadow.

Cross-Curricular Link:

  • Science: Observing details of natural objects (e.g., leaves or fruits).
  • Math: Understanding shapes and proportions.


Starter (Picture Prompt):
Show a simple pencil sketch (e.g., a leaf or an apple).
Ask:

  • What do you notice about the shading?
  • How are light and dark areas created?

Teaching & Learning Activities:

  1. Introduction (5 minutes):

    • Explain what sketching is and why it is important in art.
    • Discuss the role of shading and texture in creating realistic drawings.

  1. Demonstration (10 minutes):

    • Show how to hold the pencil for different effects (light vs. dark shading).
    • Demonstrate basic techniques:
      • Hatching: Parallel lines.
      • Cross-Hatching: Overlapping lines.
      • Blending: Smooth transitions between light and dark.
  2. Activity (25 minutes):

    • Students sketch simple objects (leaf, fruit, or a small toy) using the demonstrated techniques.
    • Encourage them to observe light and shadow on the object.

Teacher Action:

  • Move around to observe and provide feedback on pencil control and shading techniques.
  • Offer encouragement and demonstrate additional techniques as needed.

Learner Opportunities:

  • Practice controlling pencil pressure.
  • Explore different textures using lines and shading patterns.

Challenging Tasks:

  • Advanced students can attempt to sketch more complex objects or add more detail by focusing on texture and fine shading.


Assessment Criteria:

  • Self: Students reflect on their shading and texture use.
  • Peer: Share sketches with a partner and discuss what works well.
  • Teacher: Assess for technique, effort, and creativity.

Plenary (5 minutes):

  • Display and discuss a few sketches.
  • Ask students what they learned about shading and texture.


Home Learning:

  • Sketch a household object (e.g., a spoon or a flower) using shading techniques.
  • Bring it to the next class for discussion.

Resources Used:

  • Pencils (HB, 2B, 4B)
  • Erasers
  • Paper
  • Simple objects for sketching (leaves, fruits, etc.)

Skills Used In The Lesson:

  • Observation
  • Fine motor skills
  • Shading and tonal variation

Next Step of Learning:

  • Introduce contour drawing and more advanced shading techniques (e.g., stippling).
  • Explore sketching landscapes or portraits using pencil techniques.

Rubric for Pencil Sketching Study (Grades 3 to 5)

CriteriaExcellent (4)Good (3)Satisfactory (2)Needs Improvement (1)
Shading TechniquesDemonstrates excellent use of shading with smooth transitions, clear highlights, and deep shadows.Shows good shading skills with some variation in tones but minor inconsistencies in smoothness.Basic shading is present, but transitions between tones are uneven or lacks depth.Limited or ineffective shading with little variation in tone or no clear distinction between light/dark.
Pencil Pressure ControlExcellent control with a wide range of light and dark tones, achieving desired effects.Good control with noticeable variations in pressure to create shading and depth.Some control of pressure, but tones are limited or uneven.Minimal control, with inconsistent tones or uniform pressure throughout.
Line WorkLines are precise, consistent, and used effectively to create texture and detail.Lines are clear with minor variations, contributing to overall texture and form.Lines are basic and somewhat contribute to texture but lack consistency.Lines are irregular or ineffective, contributing little to texture or detail.
Observation SkillsShows a keen eye for detail; accurately represents object proportions, textures, and shapes.Good representation of object details with mostly accurate shapes and textures.Some observation is evident, but details and proportions may be simplified or inaccurate.Limited observation; sketch lacks key details, proportions, or resemblance to the object.
Creativity and CompositionSketch displays originality and a thoughtful composition that enhances visual appeal.Composition is good with some creative choices that enhance the drawing.Simple composition with minimal creativity, but basic design elements are present.Little creativity; composition is plain or poorly arranged.
Effort and PresentationDemonstrates exceptional effort; sketch is neat, complete, and thoughtfully presented.Good effort is evident; sketch is mostly neat and finished with minor areas of incompleteness.Moderate effort; sketch is complete but may appear rushed or lacks attention to detail.Minimal effort; sketch is incomplete, untidy, or carelessly presented.

Instructions for Use:

  • Assign scores for each criterion from 1 to 4.
  • Add up the scores to assess the overall performance.
  • Provide constructive feedback based on strengths and areas for improvement.

Question answer time:-

  • Shading:
    How do you create different shades of light and dark using only your pencil? Which technique will you use to make shadows look realistic?

  • Line Pressure:
    How does changing the pressure on your pencil affect the darkness or lightness of your lines? Can you show examples of light and heavy pencil strokes?

  • Texture:
    What kind of lines or patterns can you use to show texture (such as rough bark or smooth glass) in your drawing?

  • Shapes and Proportion:
    Why is it important to start your drawing with simple shapes? How do these shapes help you get the right proportions?

  • Blending:
    How do you blend pencil strokes to create smooth transitions between light and dark areas? What tools can you use for blending?