Tuesday, 22 April 2025

Pencil sketching artwork class 3rd student

To draw simple 3D shapes, follow these steps:

Cube:
1. Draw a square for the front face.
2. Add a slightly offset square for the back face.
3. Connect corresponding corners with lines.

Cone:
1. Draw an oval for the base.
2. Draw a point above the oval for the apex.
3. Draw lines from the apex to the oval's edges.

Rectangle (Cuboid):
1. Draw a rectangle for the front face.
2. Add a slightly offset rectangle for the back face.
3. Connect corresponding corners with lines.

To create a 3D effect, use techniques like:
- Overlapping lines
- Shading
- Perspective

Would you like more details or specific tips?

Wednesday, 16 April 2025

pencil sketching lesson plan

Pencil Sketching Lesson Plan for Class 5

Lesson Title:

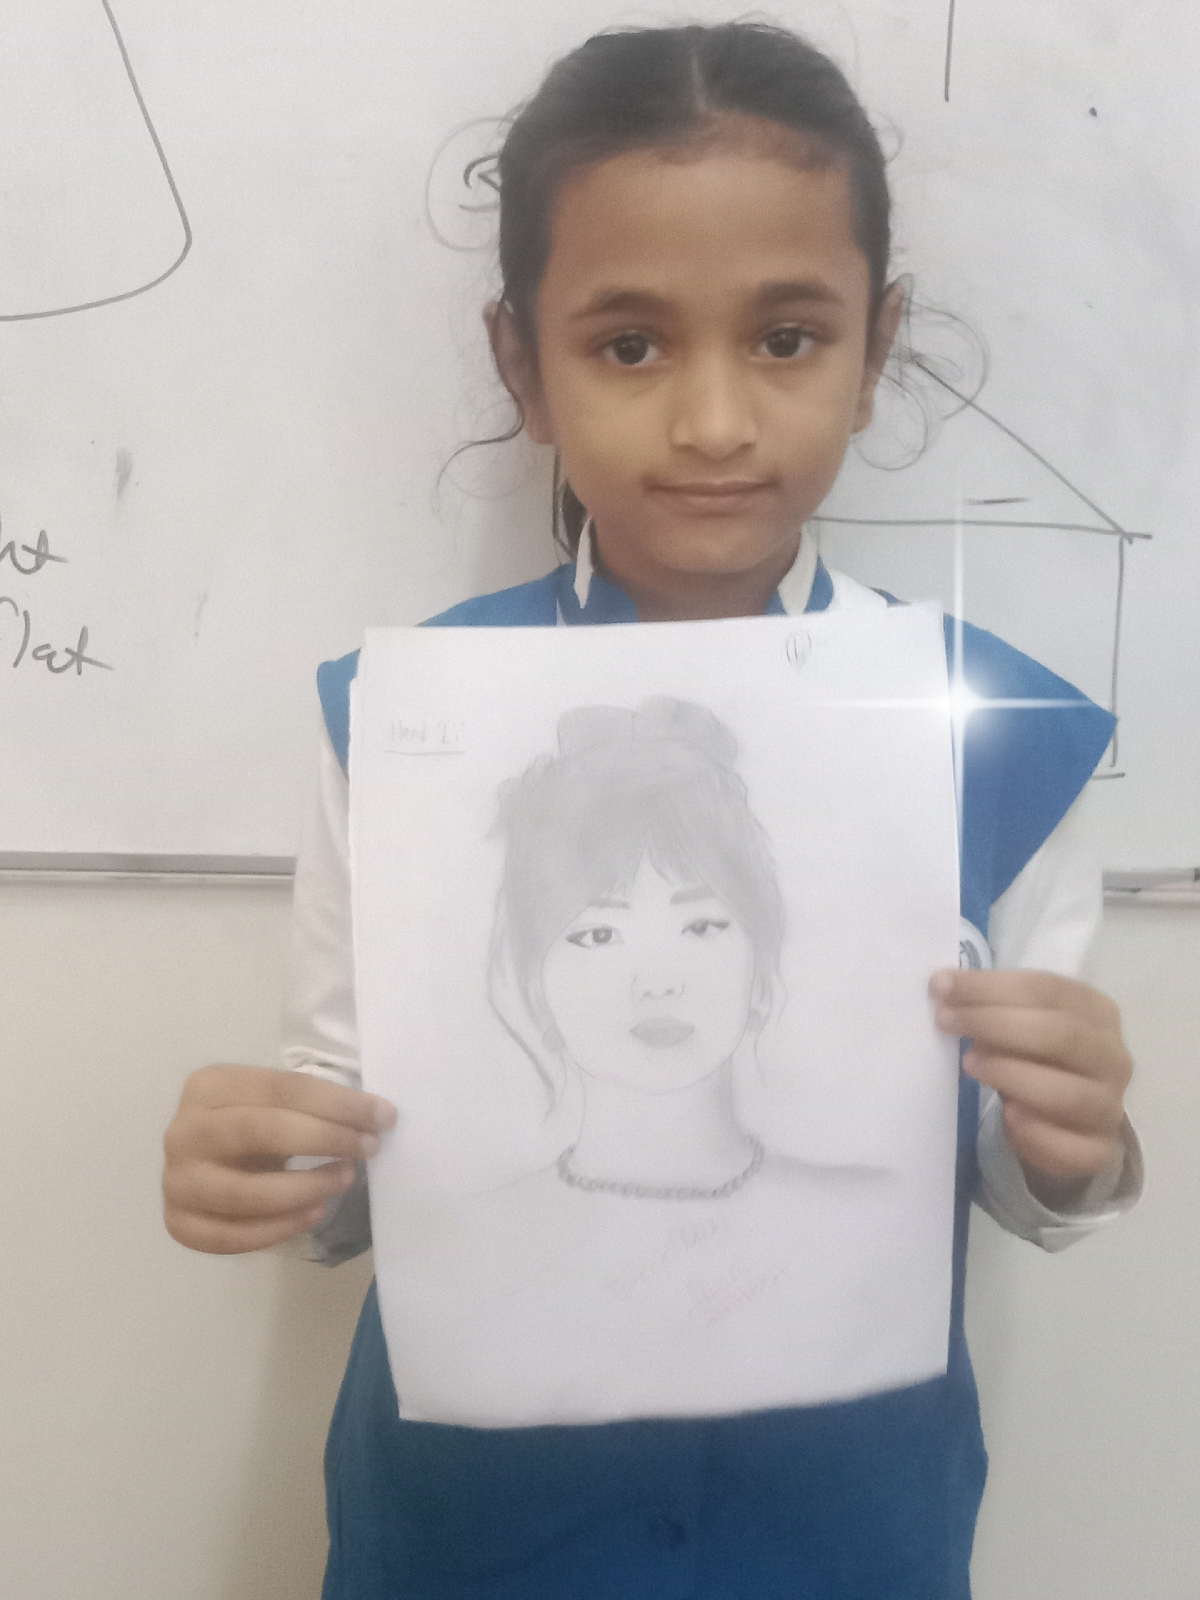
Introduction to Pencil Sketching: Basic Shapes and Shading

Grade:

5th Grade

Duration:

1 Hour (can be extended to 1.5 hours if needed)

Objective:

By the end of the lesson, students will be able to:

  • Understand basic pencil sketching techniques.

  • Draw simple shapes using pencil.

  • Apply basic shading to create depth.

  • Develop observation and fine motor skills.

Materials Needed:

  • HB pencils (or any standard drawing pencils)

  • Erasers

  • Sharpeners

  • Drawing paper or sketchbooks

  • Rulers (optional)

  • Reference images of simple objects (like fruits, leaves, or geometric shapes)

Lesson Outline

1. Introduction (10 minutes)

  • Greeting and warm-up: Briefly discuss what sketching is and how it helps in expressing creativity.

  • Show examples of pencil sketches (simple and detailed).

  • Explain the importance of observation in sketching.

  • Introduce basic tools: pencil types, eraser, paper.

2. Demonstration of Basic Shapes (10 minutes)

  • Teach students how to draw basic shapes: circles, squares, triangles, and rectangles.

  • Explain how these shapes form the foundation for more complex drawings.

  • Demonstrate light sketching with gentle pencil strokes (not pressing hard).

3. Drawing Exercise: Simple Object Construction (15 minutes)

  • Choose a simple object (e.g., an apple or a leaf).

  • Break down the object into basic shapes.

  • Guide students to sketch the object step-by-step using the shapes.

  • Encourage them to keep their lines light and adjustable.

4. Introduction to Shading (15 minutes)

  • Explain shading and how it adds depth and dimension.

  • Demonstrate basic shading techniques:

    • Hatching (parallel lines)

    • Cross-hatching (intersecting lines)

    • Blending (using finger or tissue)

  • Show how light and shadow work on the object.

  • Let students practice shading on their sketches, focusing on light source direction.

5. Practice and Individual Work (10 minutes)

  • Allow students to continue working on their sketches.

  • Walk around, provide individual guidance, and encourage creativity.

  • Suggest adding details or trying different shading techniques.

6. Conclusion and Review (5 minutes)

  • Invite a few students to share their sketches.

  • Recap key points: basic shapes, light sketching, shading techniques.

  • Encourage students to practice sketching at home.

Additional Tips for Teachers:

  • Keep the atmosphere positive and encouraging.

  • Use simple language and demonstrate slowly.

  • Praise efforts to boost confidence.

  • Adapt the pace depending on students’ skill levels.

Wednesday, 26 March 2025

Beautiful designing lights


AFL Assessment Of Learning

Assessment for Learning (AFL) tools can enhance arts teaching by helping students understand their progress, encouraging creativity, and improving skills. Here’s how you can use AFL tools effectively in art education:


1. Self-Assessment & Reflection
Provide checklists or rubrics for students to evaluate their own artwork.

Use reflection journals where students describe their creative process, what worked, and what could be improved.

2. Peer Assessment & Feedback
Implement “Gallery Walks” where students give constructive feedback on each other’s work.

Use “Two Stars and a Wish” (two positive points and one area for improvement).

3. Questioning & Discussion
Ask open-ended questions like “How does this artwork express emotions?” or “What techniques did you use to create texture?”

Encourage students to analyze famous artworks and compare them with their own.

4. Use of Success Criteria & Learning Objectives
Clearly define what success looks like in a project (e.g., “Your mandala should have symmetry and detailed patterns”).

Display exemplars of different levels of work to guide students.

5. Exit Tickets & Quick Assessments
Ask students to write one thing they learned and one question they have about the lesson before leaving.

Use simple quizzes or visual matching activities to reinforce art concepts.

6. Observation & Formative Feedback
Walk around during activities, giving immediate feedback on techniques and composition.

Take photos of student progress to discuss changes and improvements over time.

7. Use of Digital Tools
Online portfolios (Google Drive, Seesaw) allow students to track their progress.

Interactive apps like Padlet or Jamboard help with brainstorming and idea sharing.

Would you like a specific AFL-based lesson plan for a certain art topics.